Dr Scholls
How To Insert Dr. Scholl's Insoles
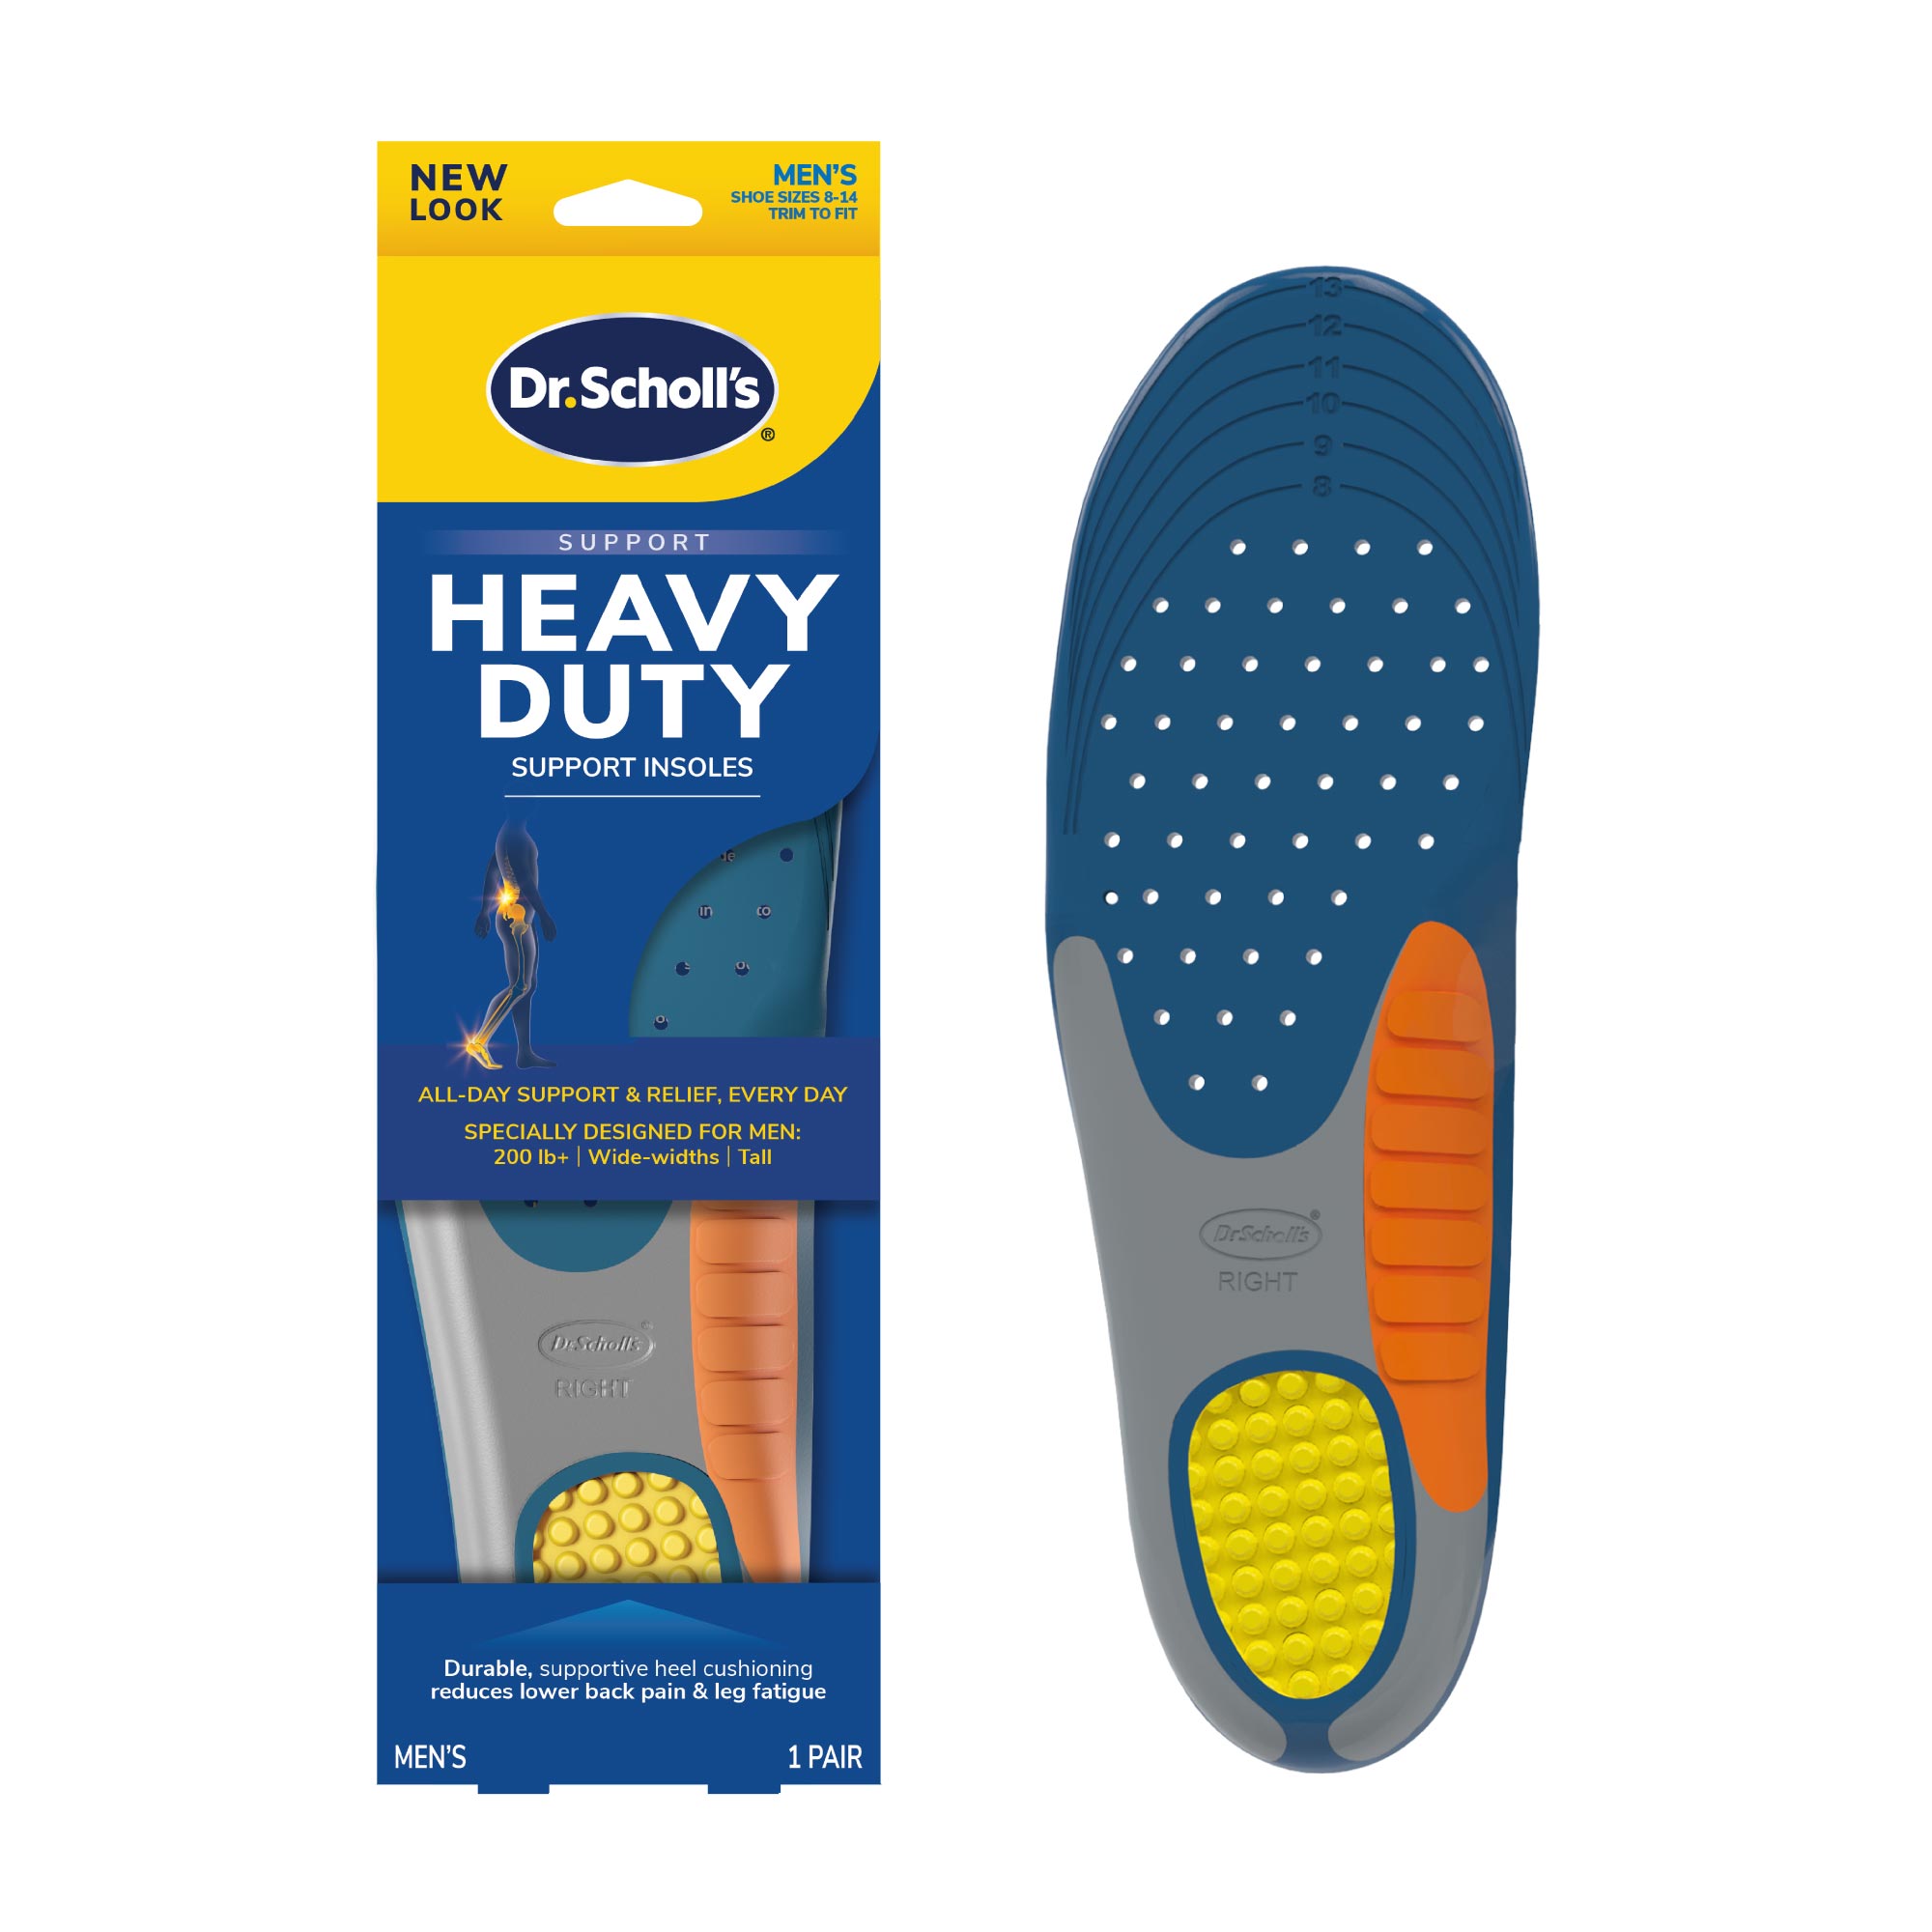
Make sure that you select the right Dr. Scholl's insoles for your shoe size and your desired comfort level. Remove the current insoles that are inside your shoes, then test the new insoles to confirm they are the right size. If needed you may trim along the outline on top of the insole near the toes to cut it to a size that more closely matches your shoe size. When using gel insoles, be sure to insert the insole gel side down. Put your shoes on and enjoy the comfort of Dr. Scholl's insoles.
How Long Do Dr. Scholl's Inserts Last?
Most of Dr. Scholl's inserts products are designed to last six months with regular use. However, if you notice that your insoles are worn out or not providing you with as much support as you need, you may change them sooner and replace them with a new pair.
How To Use Dr. Scholl's Freeze Away Wart Remover
To use Dr. Scholl's Freeze Away Wart Remover, attach the open end of the white applicator to the blue nozzle of the can and twist it clockwise until it locks in place. Place the blue activator on a table or sturdy surface, then turn the can upside down and insert the white activator into the blue activator. Make sure that the three tabs are aligned with the three slots on the blue activator. Press down on the can and hold it for two to three seconds until you hear a hissing sound. The white applicator should fill with cold liquid. You should smell some of the ingredients or see condensation. Lightly press and hold the applicator tip onto the wart for about two minutes. Hold the white applicator by the plastic stem and remove it from the can by turning it counterclockwise. Throw the white applicator away after each use. Wash and dry the wart 24 hours after freezing it, then apply one drop of Dr. Scholl's Fast Acting Liquid using the applicator stick. Repeat this last step twice daily for two weeks.


